Journal
Authenticating with 3rd party services
I’ll be honest—authentication is not an exciting topic. I thought about skipping this post, but then I realized that this subject is often left out of blog posts. Either the post is about everything after authentication or the author realizes that authentication is an entire post on its own, so they write a quick paragraph and link to another article. After all I’ve been through with integrations, it would be a disservice to myself and others to skip this post—I’ve learned too much, and I need to share this knowledge!
The first thing to know about authenticating with a 3rd party service is that there are multiple methods for doing so, and it’s up to the service to decide which method you must use. Newer services will often start by providing a simpler method of authentication, like BasicAuth with an API key, while more veteran services will offer more user-friendly authorization flows, like OAuth. Both serve the purpose of authenticating with the service, but one is easier on the dev while the other is easier on the user.

If a service looks appealing enough to integrate with, there’s a good chance it’s using one of the more serious methods of authentication. I say this because integrations are a real commitment, and if the service really wants you to tie your app so closely to theirs, they’ve probably gone the extra mile to support one of the open standards of authentication.
In my own experience, BasicAuth often means “Yes, we have an API. You can play with it if you want,” while OAuth2 means “Our business relies on integrations as a selling point. Here’s our documentation, support center, and IRC channel.” Occasionally, you’ll find a neglected service with forced support for OAuth or a solid service that doesn’t need anything more than BasicAuth, but the authentication method is often a good indicator of how smooth this ride will be.
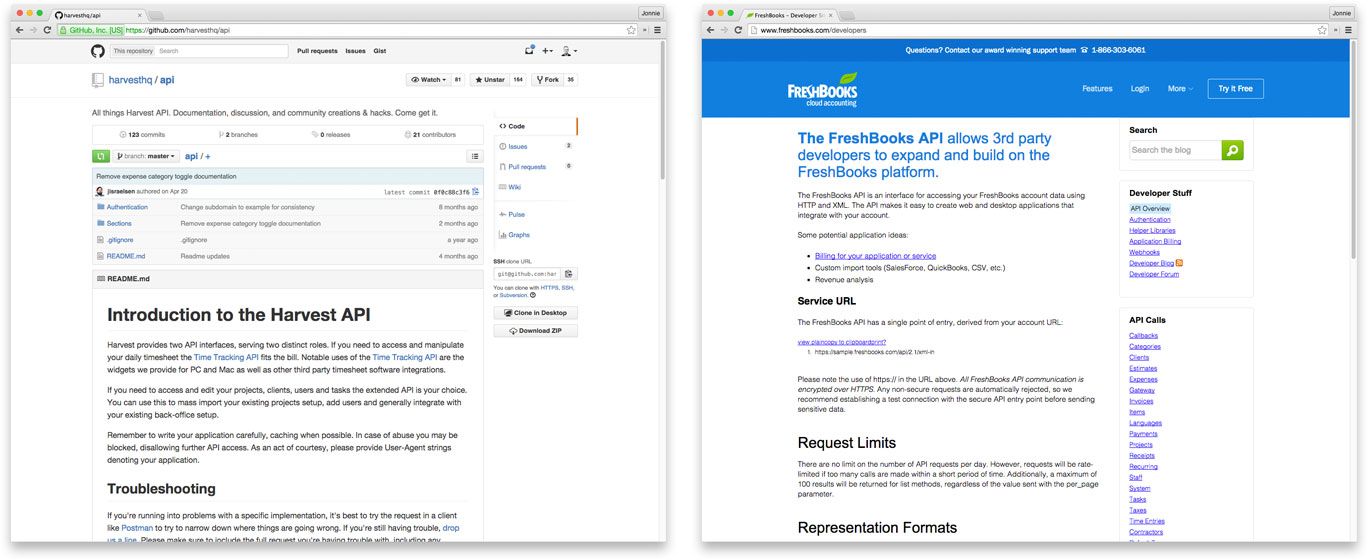
With Cushion, I started out by integrating with the heavy hitters of the freelance industry—Harvest and FreshBooks. Both support OAuth, which is great, but each supports a different version of the standard, which is not great. Harvest offers authentication through OAuth2, which directs the user through an authorization flow and provides the dev with an access token and a refresh token. The access token expires after 18 hours, so the dev will eventually need to request a new access token using the refresh token. This is a bit of extra work, but it keeps the token somewhat fresh, in case the access token lands in the wrong hands.
FreshBooks, the older of the two services, offers authentication through OAuth1, the older standard. To the user, the authorization flow is the same, but to the dev, there’s no expiration on the access token. Once the dev receives the token, they’re good to go indefinitely, until the user deauthorizes the integration. OAuth1 is definitely easier on the dev, but not as secure. Then again, an 18-hour expiration period sort of defeats the purpose of an expiring token.

At first, I built an authorization system from scratch using the OAuth and OAuth2 gems. After authorizing, Cushion would show a sleek progress screen as it moved through each step before retrieving the tokens. For anyone using Cushion, it looked seamless, but under the hood, it was a mess. I could easily imagine this system becoming a headache with each new service I added—especially if it introduced a new authorization method. After wrapping up Harvest, it finally dawned on me that another solution existed—a much easier one. I still kick myself for forgetting the OmniAuth gem, but in a single afternoon, I was able to replicate the same system I spent weeks implementing. I can’t get those weeks back, but at least I caught myself before I wasted even more time.
For those unfamiliar with OmniAuth, it abstracts the authorization process through the use of “strategies”. The strategy tells OmniAuth which authentication method the service uses and then formats the service’s response into standardized payloads. The user payload includes the user’s ID, name, email, etc., while the credentials include the access token and optional refresh token. With OmniAuth, authorizing with a new service is as easy as installing its strategy. Though OmniAuth is more commonly used during the sign up process, it works surprisingly well with integrations, too.
Now that I had OmniAuth handling the authorization flow, I needed to safely store the access tokens. Access tokens don’t seem as precious as passwords, but considering they grant access to users’ account, they should be protected just the same. I store access tokens in an encrypted column on the authorization model, which bridges the gap between the user and the 3rd party service. To enable an integration, I simply need to pass it the authorization model—nothing more.

Currently, Cushion only allows one authorization per service, but I quickly learned that many users have multiple accounts for a single service. Since services like Harvest are used by both freelancers and companies, clients will often invite freelancers to be a guest on their account to streamline the delivery of hours and invoices. Some freelancers also invite their subcontractors to use their account for the same reason.

Luckily, the changes required to make multiple authorizations happen are minimal. I built the integration system in a way that allows for multiple authorizations from the start—I just need to design the front-end to handle them. This will entail asking the user which account to use whenever enabling an integration and providing the ability to delete authorizations from the table view. If I end up including any additional details with authorizations, like activity, I might be able to justify a new page for an individual authorization. At the moment, though, the table view will suffice.