Creating Your First Invoice
On the surface, Cushion can generate and track invoices, but underneath, it can do so much more.
Start by creating a new invoice and assigning the invoice to a client and project.

Including an invoice number is optional, but recommended. If you’ve previously invoiced the client for this project, Cushion will display the previous invoice number, so you can correctly increment the number.

Invoices can also include details for the client, like payment terms, late fees, etc. These details will appear on the invoice template. Cushion supports Markdown for this field, so you can include a header or format your text.

Cushion uses line items to itemize the work you’ve completed for your client. Line items include descriptions, quantities, and rates. You can optionally enable tax rates as well.

Cushion lets you save tax rates, so when you click to enter an amount, a helper will appear with a list of your saved tax rates.

Below the line items, you’ll find the schedule section of the invoice form. Cushion uses these dates to track your invoices and visualize them in the schedule graph.

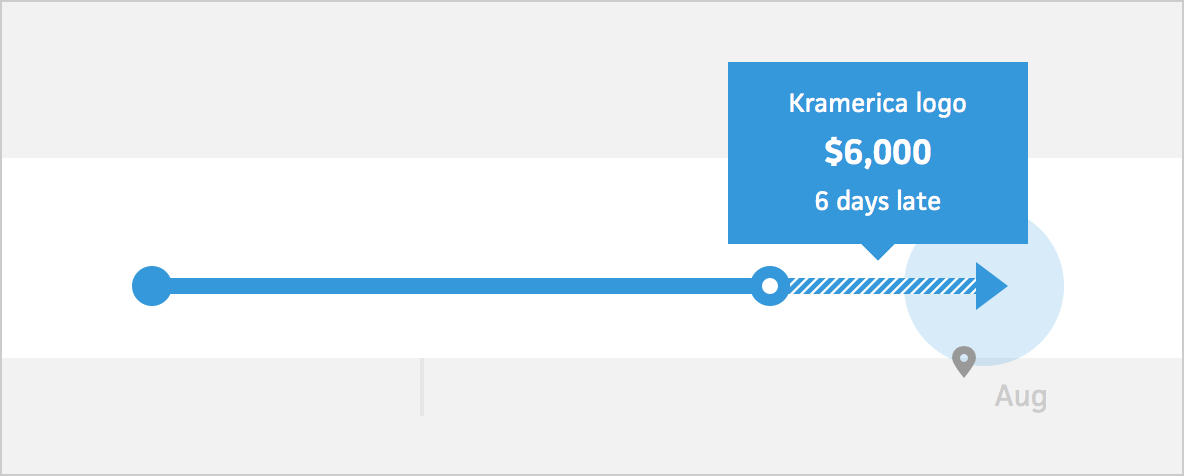
Cushion indicates when invoices are late, so you’re always aware of them and encouraged to follow up. Cushion also keeps track of how often your clients are late to pay, so you know when you can actually expect to get paid.

When you’re ready to send the invoice to your client, you can download it as a PDF. If you need to edit any information, like the client’s address or invoice details, you can click Edit Template to bring up a window to edit everything in one place.
Under the Budget tab, you’ll see your invoice amounts grouped by client or project, depending on which subtab you’re viewing.

On the right side of the budget section, there are view settings, which let you group your income by status. This is useful for seeing the big picture of what you’ve made, invoiced, and can expect for the rest of the year.
Done! We hope this guide was useful in introducing you to Cushion. Feel free to reach out if you have any additional questions.